
Guides
Vintage is a sales word, not a date, for these sewing machines in 2027
Vintage is a sales word, not a date. How to read a machine from its serial, badge and drive system, and how to pick one project goal before spending.
What to take away
- Vintage is a sales word, not a date. Write down maker, badge, model and serial instead.
- Choose one goal first. Preserving, sewing, displaying and selling pull against each other.
- Nothing gets plugged in on day one. Old insulation fails long before the cord looks bad.
- A needle that fits the clamp is not automatically the right needle system.
Record the facts before you buy
No law fixes when a household machine becomes vintage. Vintage is a sales word: sellers use vintage, antique, industrial and heavy duty to mean whatever moves the listing. Ignore the adjective.
Collect checkable facts: maker, badge name, model or class, where the serial is stamped, and the drive type. The drive may be a hand crank, treadle, external motor or motor built into the arm. Note which case or cabinet arrived with it.
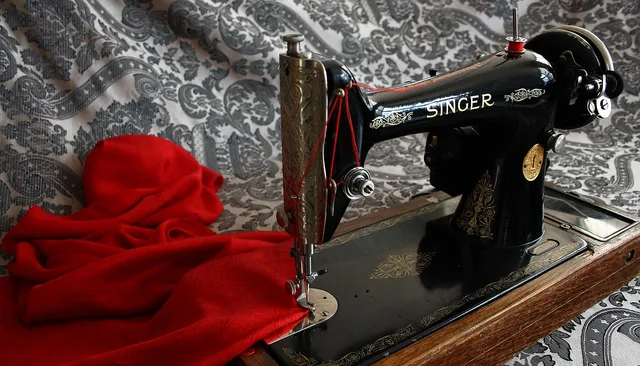
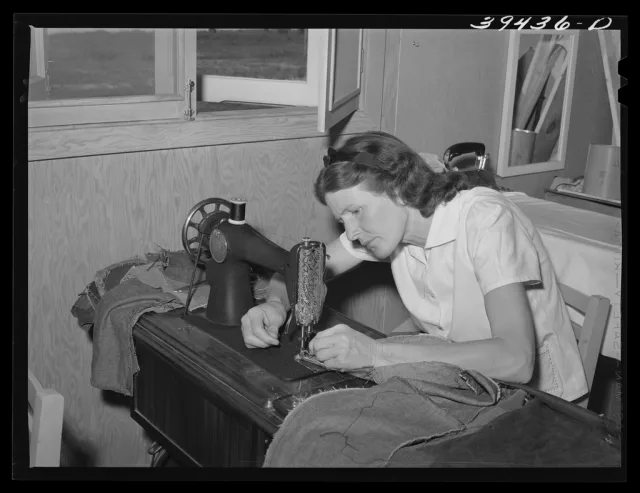
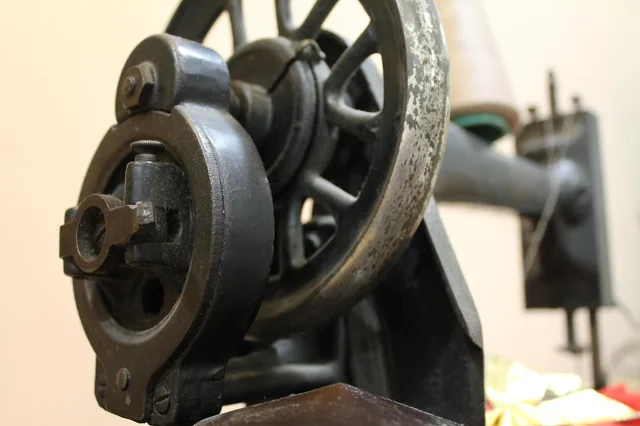
Drive types differ. A hand crank has a fold-away handle on the right wheel and no motor. A treadle sits in a cast-iron stand with a foot pedal and a pitman rod.
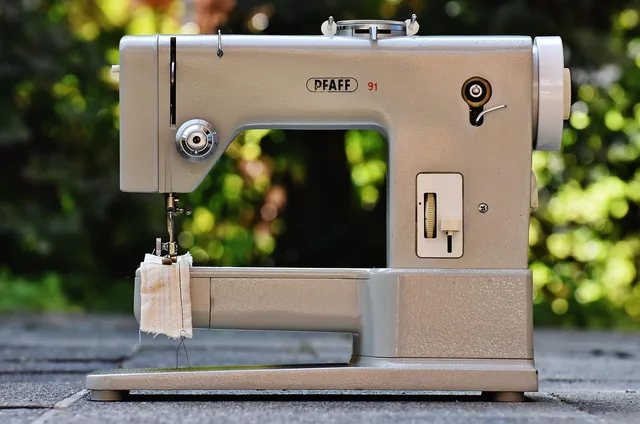
An external motor bolts to the arm and runs a belt to the hand wheel. A built-in motor sits inside the arm or pillar, with a switch and no external bracket.
Pick one goal before you touch anything
Four goals, four different sets of correct actions:
Four goals, four action sets
Preserve
- Priority
- Keep original material
- Cleaning
- Only stabilize
- Parts
- Avoid changes
- Function
- Evidence of use
Sew
- Priority
- Safe operation
- Cleaning
- Maintain repeatable
- Parts
- Available parts
- Function
- Repeatable maintenance
Display
- Priority
- Stability and labeling
- Cleaning
- Minimal
- Parts
- Not needed
- Function
- Honest labeling
Sell
- Priority
- Identify and disclose
- Cleaning
- Photograph flaws
- Parts
- Disclose flaws
- Function
- Never claim untested
Read the machine before you clean it
Photograph everything first: both sides, the needle and presser area, the bobbin area, the tension unit, the motor plate and wiring, the underside, the serial number, the cabinet and every loose accessory.
Patent dates cast into a bed, shuttle, or attachment are a real dating clue. A patent is a fixed public record, so those numbers can be looked up through Patent Public Search, the free full-text system the USPTO runs.
Serial numbers are the other half. ISMACS International keeps maker-by-maker serial lists, and those lists return an allocation range, not a birthday. A worked example: a Singer 15K stamped with a serial in the G block. The ISMACS Singer list places that block in the 1910s, so the machine dates to that window, not to a single year.
Manuals and parts diagrams: the Internet Archive holds scanned manuals, and ISMACS International hosts parts-list scans. A parts diagram names the needle system, bobbin class, and shank type.
Electricity is the part that hurts people
Old rubber and cloth insulation ages even when the machine sits. Cracked cords, taped joints, a warm foot controller, or a burnt smell are stop signs, not quirks.
Have a qualified person assess the wiring before the first test seam. Keep a working smoke alarm in the room where you work.
The Consumer Product Safety Commission's fire safety guidance reports that almost two thirds of home fire deaths happen where alarms are missing or not working. Keep fingers, sleeves, hair and children clear of belts, pitmans and flywheels.
Buy consumables one at a time
Needle systems, bobbin heights, shank types and belt sections all vary between machines that look alike. Buy one, fit it, then buy the box. The companion bench tool kit covers what belongs within arm's reach before a first test seam, and the list of common beginner errors covers the shortcuts that cost people a decal set or a hook.
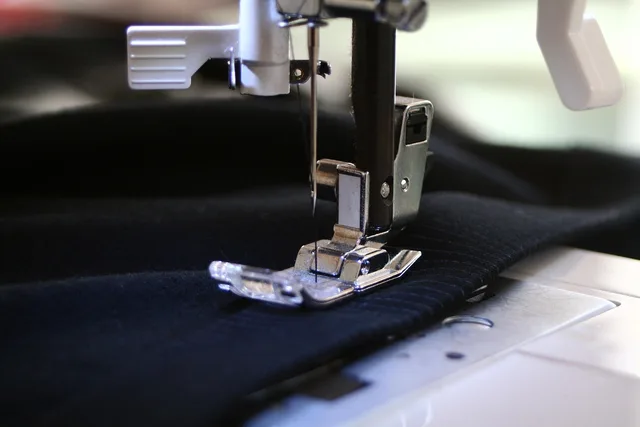
To check the needle system, remove the needle and compare shank shape, overall length, and butt-to-eye distance with the manual or a needle chart. A flat shank on one side points to a flat-shank system. A fully round shank points to an older round-shank system.
To check bobbin class, remove the bobbin and case and compare diameter, height, and latch shape with class 15, class 66, or class 221 references. To check shank type, measure from the needle plate to the screw hole on the presser foot shank. Low shank is short, high shank is tall, and slant shank is angled.
Typical US asking prices for a working Singer 15-class electric, such as the 15-91, run from $100 to $250. A treadle cabinet can add $100 to $300.
The 2027 in the title is a reminder, not a cutoff. Sellers keep stretching the word vintage. The checks above stay the same in any year.
A sane first week
| Day | Task | Stop rule |
|---|---|---|
| 1 | Photograph, record serial and badge | Do not wipe anything yet |
| 2 | Find the manual and parts diagram | Do not thread from memory |
| 3 | Choose one goal | Do not order parts before this |
| 4 | Get wiring or mechanics assessed | Do not power up on a hunch |
| 5 | Buy one of each consumable | Do not buy a job lot |
Common questions
Is an old machine automatically better built?
Can I date a machine exactly from its serial?
Should I repaint a worn machine?
What is the single most common costly mistake?
In this guide
- 6 things to weigh up on vintage sewing machinesSeven low-risk projects for a vintage machine that build real skill: sample books, museum labels, hand-crank practice and community documentation work.
- Documentation habits for vintage sewing machine repair, intake and resaleHow to keep a dated page per vintage sewing machine: intake questions, condition notes, reversibility, seller rules and common questions for repair or resale.
- What belongs in a first tool kit for vintage sewing machines, and what does notThe small kit that earns its bench space on a vintage sewing machine: driver geometry, measuring tools, light, and the products to leave in the shop.
- Recording a materials spec for vintage sewing machines: what to check and write downVintage sewing machines materials to record include needle system, bobbin class and size, shank, belt, lubricant, thread, and test cloth.
- Powering up first is the beginner mistake that costs a vintage sewing machine mostThe nine errors that cost beginners a decal set, a hook or a finger: powering up first, wrong solvents, forced handwheels and mismatched consumables.