Guides
Part of Vintage machine models compared: a published test protocol beats any favorites list
When do captions and stitch samples make a vintage machine model listing credible
Presenting a vintage sewing machine model for sale or review: the listing photo set, stitch samples that prove capability, and captions that state test conditions.
What to take away
- A listing set and an identification set are different jobs with different shot lists.
- The stitch sample photograph is the most persuasive image you can produce.
- Caption every capability claim with the conditions that produced it.
- Batches of photographs can be registered together, which matters if you publish regularly.
The listing set, in order
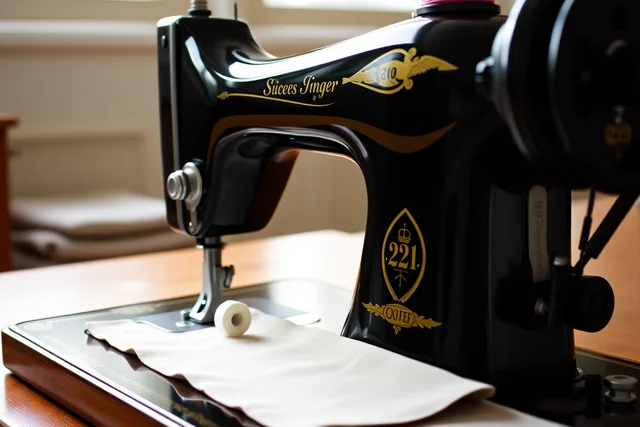
- Machine complete, three-quarter view, clean neutral background.
- Machine in its cabinet or case, showing what is included.
- [Everything included laid out in one framefeet, bobbins, manual, pedal, key](/vintage-machine-values-price-guide-for-realistic-planning).
- Stitch sample, top side, filling the frame.
- Stitch sample, underside, same scale.
- Any flaw, one frame each, honestly lit.
- Serial and model plate.
- Motor, wiring and pedal, if electric.
That is eight frames. A listing with those eight sells faster than one with twenty artful pictures, because it answers the questions a buyer would otherwise have to ask.
Eight-frame listing set
- Machine complete, three-quarter view, neutral background
- Machine in cabinet or case, inclusions shown
- Everything included laid out in one frame
- Stitch sample, top side, filling frame
- Stitch sample, underside, same scale
- Any flaw, one frame each, honestly lit
- Serial and model plate
- Motor, wiring and pedal, if electric
Photographing a stitch sample so it means something
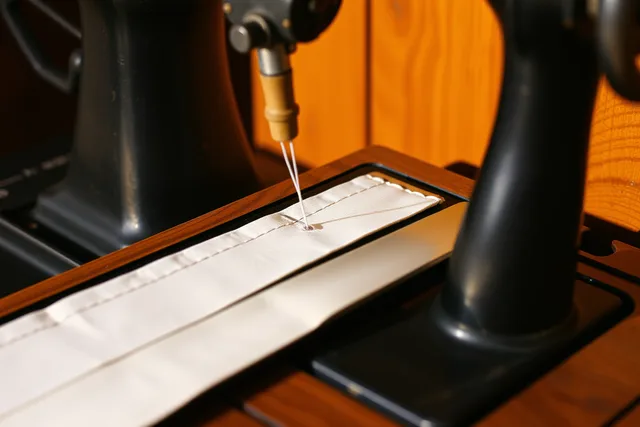
Use plain light cotton in a contrasting thread. Lay the sample flat, light it at a shallow angle so the stitch tops catch, and shoot straight down. Include a ruler in one frame so the stitch length is verifiable.
Then caption it with the conditions: needle system and size, thread, fabric weight and layers, stitch length and tension. A photograph of a good seam with no conditions attached proves that a good seam happened once.
Shoot the underside in the same light and at the same distance. Most stitch problems show on the bobbin side first, and a seller who volunteers that frame is trusted more than one who supplies six flattering angles of the top.
Captions are where credibility is won
Weak caption
- Sews well
- "Sews beautifully"
- Fully working
- "Fully working"
- Complete
- "Comes with everything"
- Restored
- "Fully restored"
Usable caption
- Sews well
- "Four layers medium cotton, 90/14, tension 4, no skips"
- Fully working
- "Straight stitch tested under load, electrical not assessed"
- Complete
- Photograph plus a written list of every item
- Restored
- "Cleaned, oiled, new belt fitted 09/2026, original finish untouched"
Every usable caption is longer, and every one of them removes a dispute.
Registering photographs in batches
If you photograph and publish regularly, for a shop or a review site, the images are original works. They can be protected.
The Copyright Office's circular on multiple works sets out the Office's practices for the limited situations in which more than one work can be registered on a single application. That is the relevant mechanism when there are hundreds of images rather than one.
Most private sellers will never need this. Anyone building a body of published work should know it exists.
Publish the method alongside the pictures
Institutions increasingly publish their own specifications so that others can see how material was produced. The National Archives, for example, sets out the specifications behind its reformatting products and services, explaining that it publishes them to open discussion of standards and to give context for the products it makes.
A one-page note saying which camera, which light, which fabric and which thread you use for every test does the same job at hobby scale. It also makes your own results comparable across years.
Where this connects
The evidence-focused shot list for working out what a machine actually is appears in our identification photography guide, and the test protocol these photographs document is set out in the model testing pillar.