
Maintenance
Part of Vintage is a sales word, not a date, for these sewing machines in 2027
Powering up first is the beginner mistake that costs a vintage sewing machine most
The nine errors that cost beginners a decal set, a hook or a finger: powering up first, wrong solvents, forced handwheels and mismatched consumables.
What to take away
- Powering up before inspection is the mistake with the worst downside. Unplug, remove the needle, inspect, and get a qualified assessment before energizing anything you did not personally rewire.
- Most decal loss is caused by cleaning, not by age or use.
- A stuck handwheel is usually hardened oil, and force turns that into a broken casting.
- Every irreversible step should be delayed until an identification is settled.
The nine that keep repeating
Nine beginner mistakes
- Powering up before inspection
- Household metal polish on japanning
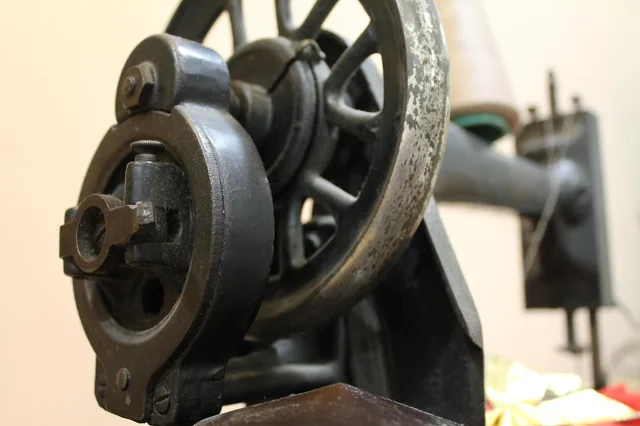
- Forcing a frozen handwheel
- Threading from a lookalike video
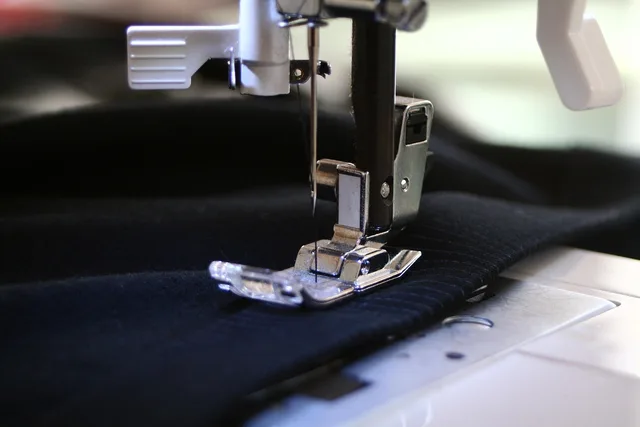
- Buying assorted needles, bobbins, feet
- Penetrating spray as lubricant
- Repainting before identifying the machine
- Lifting treadle cabinet by folding top
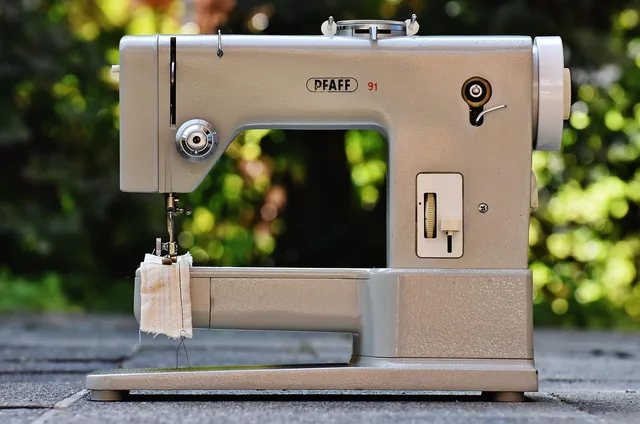
Before you touch anything, find the model and serial plate. On most vintage machines it sits on the bed, under the arm, or on the pillar. Look up the model number in the International Sewing Machine Collectors' Society (ISMACS) database or a vintage sewing machine forum. That tells you the age, needle system, bobbin class, and foot shank.
To measure needle system, compare the needle length and shank shape to a known chart. Bobbin class is set by the machine, not the bobbin; measure the bobbin diameter and height against a class chart.
Foot shank is the width of the presser foot attachment point, usually low shank (about 1/2 inch), high shank (about 1 inch), or slant shank. Measure with calipers.
Why the electrical one is first
Cloth-covered and early rubber wiring degrades from the inside. A cord can look presentable and still have brittle insulation on the conductor. A foot controller that gets warm has been telling you something for years.
The Consumer Product Safety Commission maintains a browsable set of safety alerts by topic that cover electrical hazards.
To inspect wiring, unplug the machine and look for cracks, stiffness, or exposed conductor along the cord and at the plug. If you see any, or if the cord feels warm in use, stop and call a qualified electrician or a sewing machine technician.
Cleaning is where finishes die
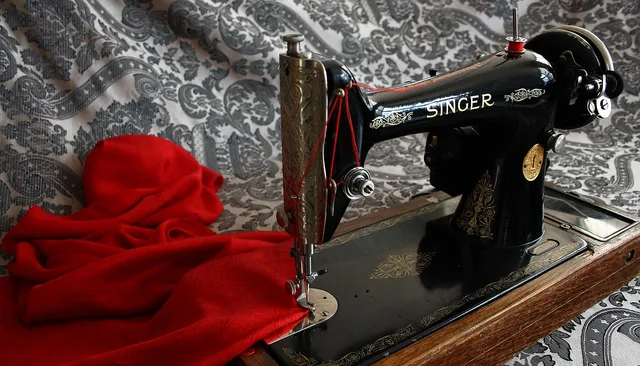
Japanning, shellac and decal varnish are all softened or dissolved by products people keep under the sink. Alcohol, ammonia cleaners, abrasive polish and aggressive solvents each have a record of taking gold decals off in one pass. Once gold is gone it is gone.
Work dry first. Identify the surface. Test in a hidden place. Stop at the first sign of color on the cloth.
For lubrication, clear sewing machine oil is the standard. Do not use WD-40 or cooking oil. For cleaning, a soft brush and a vacuum remove dust. A cloth dampened with mild soap and water is safe on bare metal if you dry it at once. Keep water off decals.
Knowing when to stop is the real skill
The instinct to keep going turns a small problem into a large one. Preservation guidance is blunt.
The National Archives advice on repairing existing damage says to call a conservator when correct storage and handling cannot solve a problem safely.
That is the frame to carry into a machine project. Except for water and active pest damage, almost nothing gets worse in the week it takes to find out what you actually have.
Fixing the mistakes you already made
| Mistake | First correction |
|---|---|
| Rounded screw slot | Stop. Use a correctly ground tip on the remaining screws |
| Polish residue on decals | Stop cleaning. Photograph and record what was used |
| Bent needle after a strike | Replace it, check the plate and hook for burrs |
| Assorted parts drawer | Measure and label, discard nothing yet |
| Forced handwheel | Stop and have the head assessed before further movement |
The correct starting kit is set out in the bench tool kit article, and the wider project framing, including when a restoration is even the right idea, sits in the restoration planning guide.