Reviews
Part of Sewing machine attachments for people who want the details
Why the work surface matters as much as the sewing machine attachments
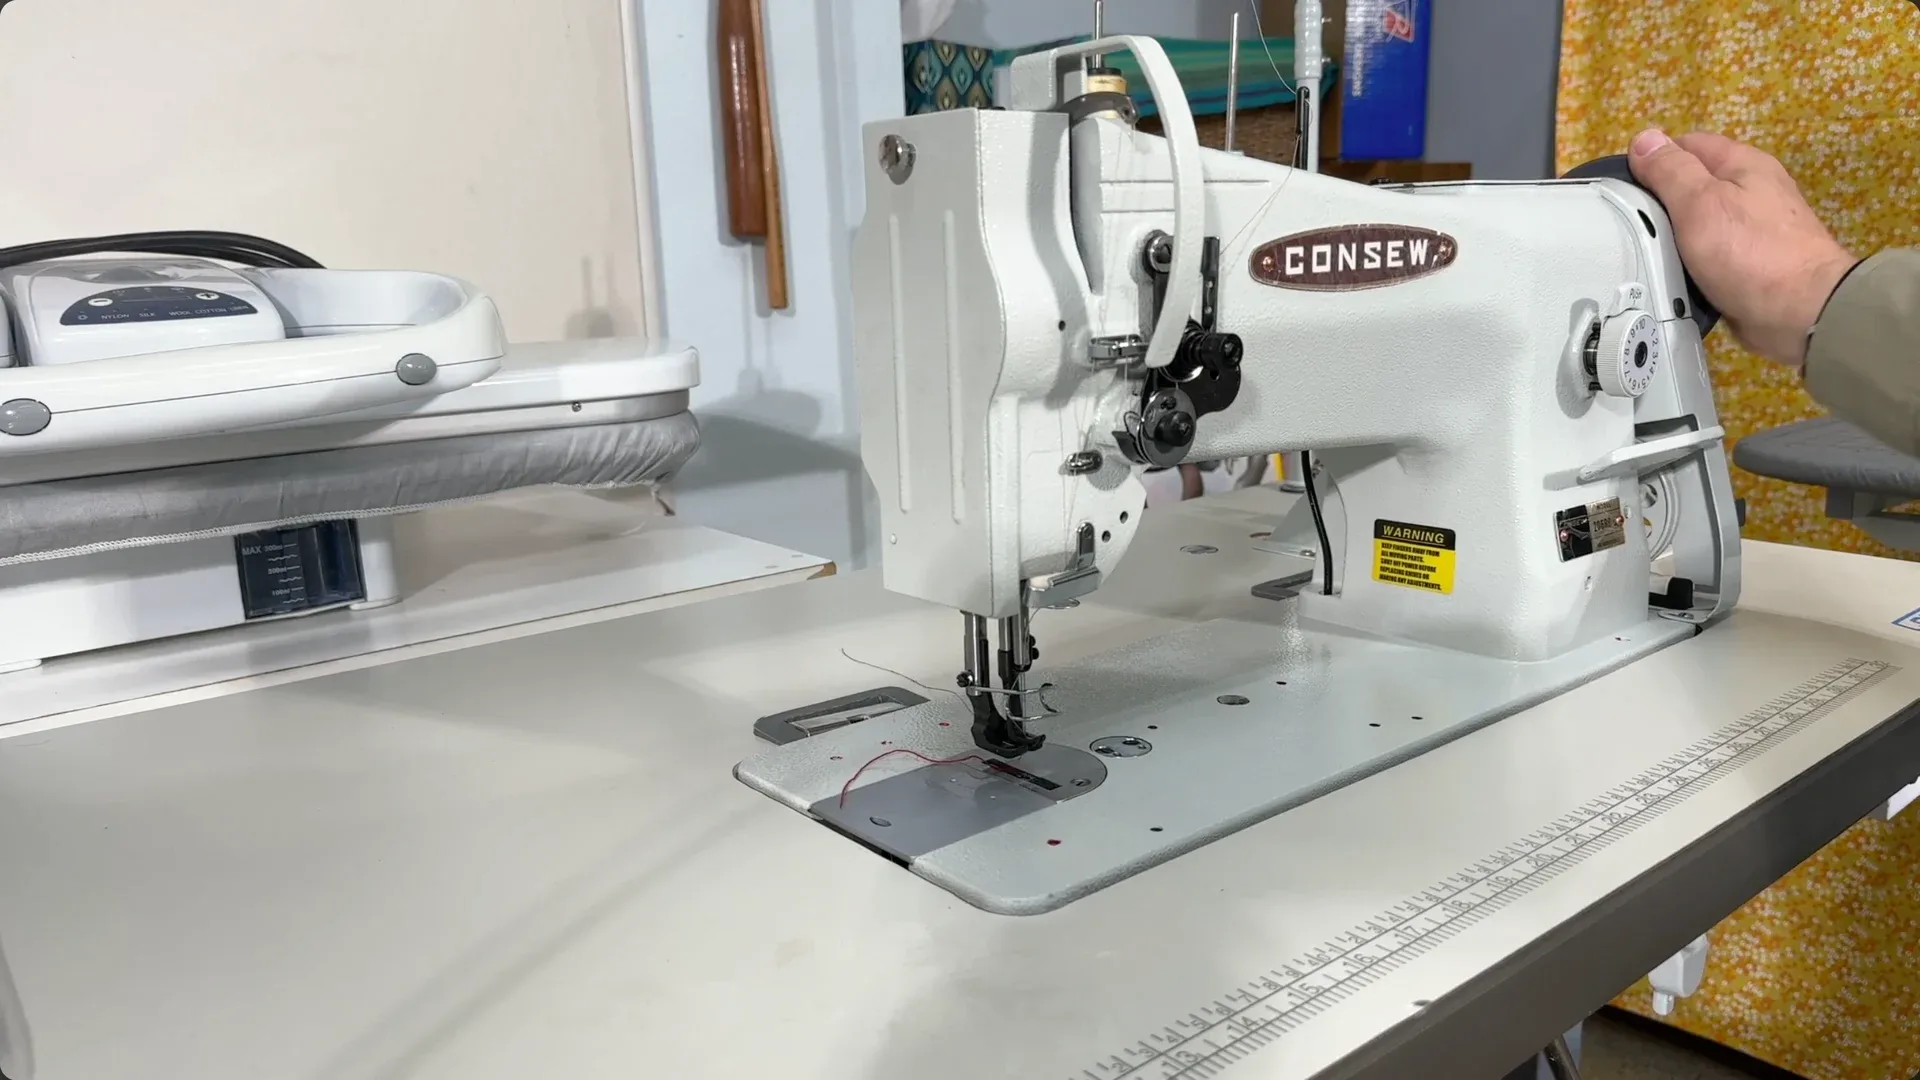
Any sewing machine attachments comparison starts at the work surface: bed height, flatbed support, extension tables and lighting that shows the needle.
What to take away
- Attachments fail on unsupported fabric far more often than on a badly adjusted machine, so any sewing machine attachments comparison should start with the surface underneath.
- The sewing surface should be level with the machine bed, not below it — the job a treadle or electric cabinet cut-out was designed to do.
- A rigid table beats a heavy one. Deflection under load is what ruins a straight hem.
- Trailing cables and cluttered floors are the injury risk when you lift a cast-iron head, not the needle.
Why the surface matters more for attachments
A plain straight stitch tolerates fabric hanging off the edge of a table. A vintage binder does not, and neither does a ruffler, a hemmer or a tucker. Attachments that fold, roll, gather or guide need the fabric to arrive at a constant angle and a constant tension, and gravity pulling a meter of cloth off the front edge changes both.
The result is a hem that wanders, a binding that misses one side, or a ruffler that gathers unevenly along its length. People blame the attachment. The attachment is fine.
Most of these came in the attachment box that shipped with a new machine, and the same families were sold by Singer, White, New Home and Greist for machines sitting flat in a cabinet, with the bed and the table top on one plane.
Support the bed, extend the plane
For a portable machine sitting on a table, the bed is roughly forty to sixty millimeters above the tabletop, and everything you sew is being lifted over that step. A Singer Featherweight shows the problem best: a small bed and no cabinet to sit in. Fix it by dropping the machine into a cabinet cut-out, the way original treadle and electric cabinets were built, using a purpose-made extension table, or building a rigid plate with a matching cut-out.
Rigidity is the requirement, not mass: a thin sheet flexing under a forearm returns you to a moving reference plane.
Original cabinets already solve this. A treadle or electric cabinet top is one solid piece with a cut-out sized to the machine, and the left-hand extension leaf rides on a hinged iron arm, so the leaf does not flex under a forearm. That kind of stiffness is measurable engineering — NIST's Materials and Structural Systems Division develops the measurement, data and modeling work for building materials and structures — but the domestic version is simpler: press hard in the middle and see whether the surface moves.
Reading the cabinet your machine came in
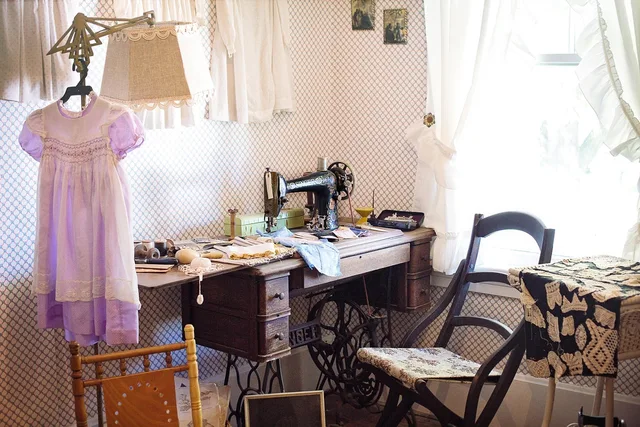
Vintage cabinets are the best reference you have for a work surface, and they say a lot about the machine. A standard treadle or electric cabinet carries the head in a cut-out so the bed sits flush with the top; a drop-head cabinet folds the head down and the leaf closes over it as a lid. Cut-outs are machine-specific, and a plate sized for a full-size machine will not hold a three-quarter-size portable like a Singer Featherweight.
Check three things before you trust a cabinet as a bench: the leaf sits level with the bed, the hinges and the leaf support are not loose, and the top finish is not so soft that a metal attachment box gouges it.
Cost
- Machine on a bare table
- None
- Clip-on extension tray
- Low
- Cabinet with cut-out
- Medium
- Custom plate with cut-out
- Low, some work
- Treadle cabinet in original form
- Already owned
Flatness
- Machine on a bare table
- Poor, forty millimeter step
- Clip-on extension tray
- Good if it locks
- Cabinet with cut-out
- Excellent
- Custom plate with cut-out
- Excellent
- Treadle cabinet in original form
- Excellent
Verdict
- Machine on a bare table
- Fine for straight stitch only
- Clip-on extension tray
- Best value for portables
- Cabinet with cut-out
- Best overall for regular use
- Custom plate with cut-out
- Good if you can cut accurately
- Treadle cabinet in original form
- Ideal, if the cabinet is sound
Height, reach and the floor
Set the surface so your forearms are roughly level when your hands are at the needle. Too high and your shoulders take it; too low and you lean forward for hours. On a treadle the irons set the height, so the stool is what you adjust.
The floor deserves a thought too. Foot controllers, extension cords and offcuts create trip hazards where you stand up carrying something heavy.
On a restoration bench the floor matters more than in a sewing room, because what you stand up with is often a cast-iron machine head or a cabinet leaf. The Consumer Product Safety Commission's older adult safety guidance reports that hundreds of thousands of people 65 and over are treated in emergency departments each year for consumer product injuries. Falls lead the causes. Cable routing takes two minutes and targets the room's largest risk.
Lighting for attachment work
You need to see the needle entry point and the fabric edge at once. A light directly above the needle throws the presser foot shadow onto the work, and the machine-mounted light on most vintage heads sits exactly there. Use two smaller sources at shallow angles from left and right, or one adjustable arm forward of the needle.
The station setup guide covers the rest of the bench layout, and the attachment buyer comparison covers which families — binders, rufflers, hemmers — are most sensitive to a poor surface.